

Have you tried Dal Moradabadi yet ? Till about few years ago, I did not even know that such a delicacy existed until I accidently tried it. As the name suggests, it originated in Moradabad, a city in the state of Uttar Pradesh in India. There it is eaten in Breakfast or as an Evening Snack with Toasted Bread. Even on its own, its a complete and flavourful meal. Try this out this simple Dal in your kitchen and you would love it.
I was introduced to this Dal Moradabadi a few years ago in a Marriage Buffet. The counter set up for this had a huge vessel from which it was being ladled into serving bowls and served to the guests. This ordinary looking Dal, served in an earthen pot, had simple toppings which gave it quite an inviting look. The first spoonful which I tasted, hooked me on to it for life. This humble Dal, transformed into a delicacy, had myriad flavours. Over the period, I have studied recipes, watched videos, talked to friends from the state and then firmed up a recipe which I tried in my kitchen a few times. Each time, I have thoroughly enjoyed this pure vegetarian soupy concoction and felt proud of myself. Here is the recipe for you:
Ingredients

- A bowl of Moong Dal
- Chopped Dried Red Chilies
- Chopped Green Chilies
- 1/2 inch Ginger piece crushed
- Some Ginger Juliennes for garnishing
- One Lemon
- 3-4 cloves of Garlic crushed
- Finely Chopped Coriander Leaves
- 1 tbsp Roasted Cumin Powder
- 1/4 tsp Red Chili Powder (deghi mirch for colour)
- Pinch of Asafetida
- 1 Tbsp Butter
- Salt To Taste
Making The Dal

Wash the Dal and soak it in water for about half an hour.
Pro Tip: Add 10% of Chana Dal of the total quantity of Moong Dal. It would give a better taste and texture to the final product.

Now, transfer the Dal along with the water to a thick bottom pan and start cooking it. Add the crushed Ginger, Garlic and a pinch of Asafetida to it. Keep on stirring it slowly and mixing it while its cooking. The idea is to slow cook the Dal in an open vessel.
Pro tip: Many recipes also suggest to pressure cook the Dal. You may do that but the original recipe suggests slow cooking it over the medium flame for better results.
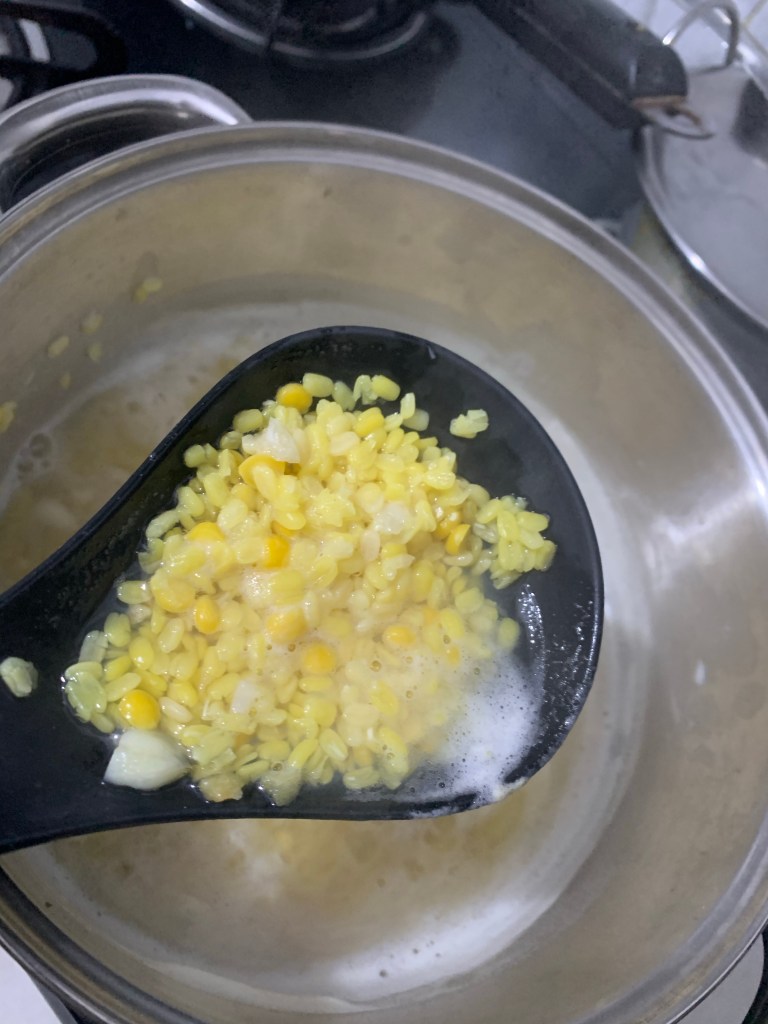

After about 10 minutes, you would notice that the Dal grains have started to get cooked and are becoming soft. From this stage onwards, while stirring, keep exerting the pressure on the grains with the ladle to mash the Dal. The whole process would take about half an hour or so. It is a game of patience. Keep on stirring and mashing it. You would know that you are on the right track when you start getting that thin film like skimming over the surface. Keep stirring, mashing and mixing. This would give a creamy texture to the thick soupy concoction.
Once the Dal is cooked and renders a thick mushy soup which has little granules of the dal, your Dal is ready. Please note that getting the right consistency is very important to achieve the authenticity of the dish. At this stage, add the Salt to taste, mix it and close the flame. Please be careful with quantity of Salt you add. If you do the Tadka (tempering) in Salted Butter, take that into consideration and adjust the salt accordingly.
A Quick Tadka
Heat some Butter in a pan. Quickly add the Dried Red Chilies and Red Chili Powder so that the butter gets infused with the heat and colour of the Red Chili. Remove it from the flame quickly so that the butter does not burn.
Serving The Dal

Transfer the cooked Dal from the vessel to the serving bowl. Now pour the Red Chili Infused Butter over it in the middle of the bowl and sprinkle Roasted Cumin Powder. Top it up with Chopped Green Chilies, Ginger Juliennes, Chopped Coriander Leaves. Sprinkle some Lemon Juice over it and serve.
Pro Tips: Add coarse salt, if available. Add salt only after the Dal has been cooked (this will ensure that the Dal turns out creamy). Do not use Turmeric.
Optional Toppings
The recipe which I have shared above is the basic recipe. Various people use add on toppings which are purely optional and depends upon your own taste and liking. Many people add Amchoor Powder, Chopped Onions, Chopped Tomatoes, Green Coriander / Pudina Chutney, Dal Bhujia etc for toppings.
Pro Tip: Make such quantity of Dal which could be consumed in one go. It is always better to serve it hot and fresh. Leftover Dal which is reheated, may not give you the desired taste.
I was served this Dal with a Biscuit Roti (a crisp flat bread). If you could get it, fine. It is also eaten with Toasted Bread Slices. I like it on its own, without any accompaniments and not many toppings. If you love your Dal, try this in your kitchen and you could thank me later. I am sure you would love this.
I soon plan to visit Moradabad (and nearing cities for I am told that you get better version slightly ahead of Moradabad, now) to try out the authentic version(s) there. If you know of any such outlets there or in and around Delhi/ NCR, do share with me. I shall try and update it on my social media platforms. Till then…
Bon Appetit !!
Rajesh Tara
#MagicOfFlavours

Leave a comment